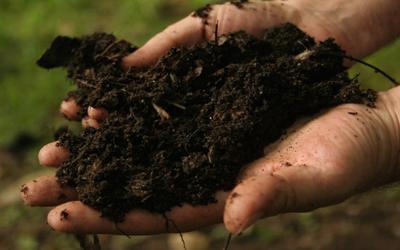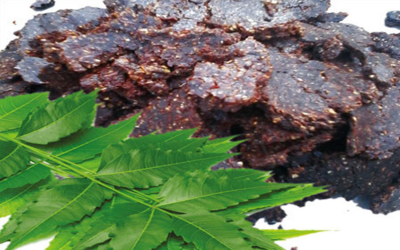
Neem cake Fertilizers
Neem cake Fertilizers – Remnants of oil emitted from neem seeds, which are used after grinding of neem kernels are crushed for their oil. In this seed kernels are nutrients such as NPK (nitrogen-phosphorous-potassium) as well as nortriterpenoids and isoprenoid. These nutrients are nematicidal in nature so the seed cake ends with these properties. Neem cake is used in agriculture, horticulture, floriculture and the turf industry as an organic fertilizer as well as a natural insecticide. Neem cake is used as organic fertilizer because of the various micro and macro nutrients. It will control, at the same time, soil-based pathogens as well as nematodes. It also inhibit the nitrification of the soil plus enhances the efficiency of nitrogen providing fertilizer.
Neem cake fertilizer is an excellent organic fertilizer. Its essential ingredients and other micro nutrients are: –
- Nitrogen
- Phosphorus
- Magnesium
- Potassium
- Calcium
- Sulfur
- Zinc
- Copper
- Iron
- Manganese
Uses of Neem cake Fertilizers: –
There are several reasons for using neem cake as soil amendment: –
1.It is bio-degradable and it can be used with many different types of fertilizers.
2. It will increase the efficiency of other fertilizers you use because it will inhibit nitrification .
3. Apart from this, it is free from any heavy metal, so it is safe for crop use.
4. It is gradually free, which means the nutrients are free in a uniform. This ensures constant growth of your crops or plants during the growing season. Because it will release the nutrients slowly that means your crops will have nutrients throughout the growing time.
5. The neem cake acts as a nutrient for plants rather than being a nutrient collector. The neem cake contains NPK (nitrogen-phosphorous-potassium) plus other micro nutrients, so your plants are fed continuously.
Benefits of Neem cake Fertilizers: –
- Both do double work of pesticides along with fertilizer.
- Increase the quality of soil.
- Reduces the growth of soil pests and bacteria.
- Provides necessary macro nutrients for the development of all plants.
- Helps to increase the yield of plants in the long run.
- Organic is destructive and environmentally friendly.
- Excellent soil conditioner